
How to ship ceramics? How to protect a ceramic mug MOCA?
Packing the ceramics: How to ship ceramics? One of our biggest challenges is shipping our ceramic pieces. I mean, shipping is not the issue. The challenge is getting them delivered
Do you wonder how to create a ceramic mug?
We will help you! There are many steps to produce a mug before receiving it at home, especially with our Moca tableware ceramic cups! In this blog post, we explain step by step how we craft them, and maybe one day you can make your own ceramics! Just to let you know, we produce all of our pieces with moulds and liquid clays, which is a different process from wheel throwing or hand building.
For example, those are the many steps for the production of a new Moca Tableware design:
In this blog post, we will only review the piece production starting with the porcelain.
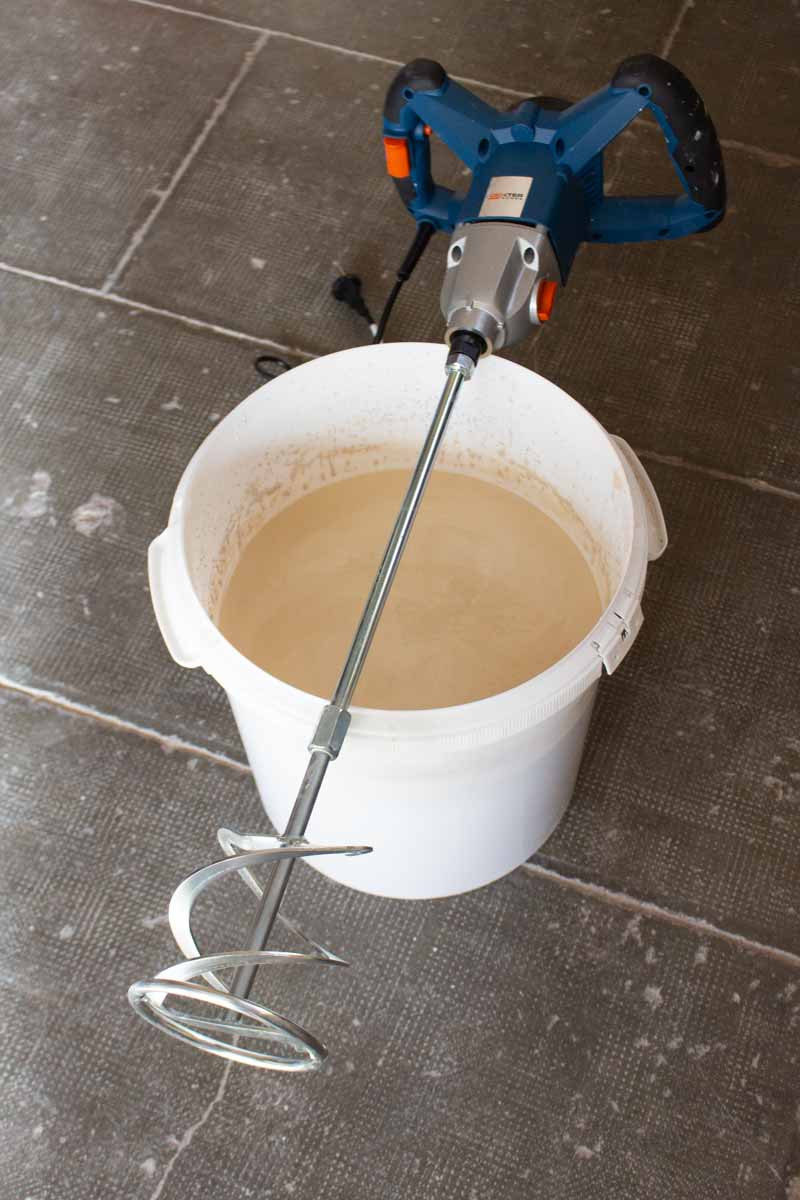
First of all, we buy bags of porcelain powder, there are different types. Limoge porcelain is one example. We also use vitreous china.
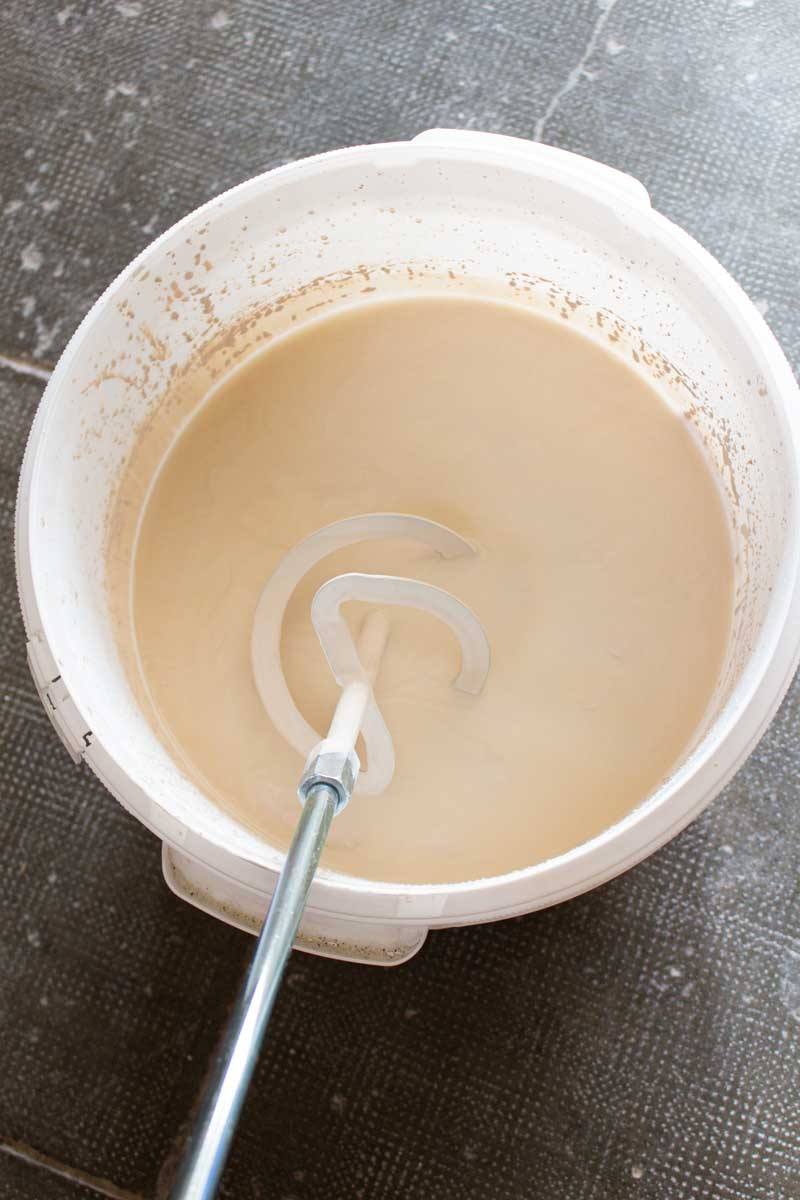
This powder will be mixed with water and a few drops of ingredients such as “Formsil D” and “Gietfix”. Every clay has its recipe. If you are not an industrial, the idea is to use a mixer with power and speed, such as a beton mixer. Then, every 30 minutes, we lower the speed until we have a smooth liquid porcelain. It’s always good to let the clay rest for a few hours before using it. You also need to sieve it between steps to remove any leftover lumps. The porcelain should have a specific weight ratio per liter, which is different for each clay type. This was the hard way. If you want to avoid this step, you can directly buy liquid porcelain buckets in a ceramic shop; it’s a bit more expensive, but the mix is perfectly done!
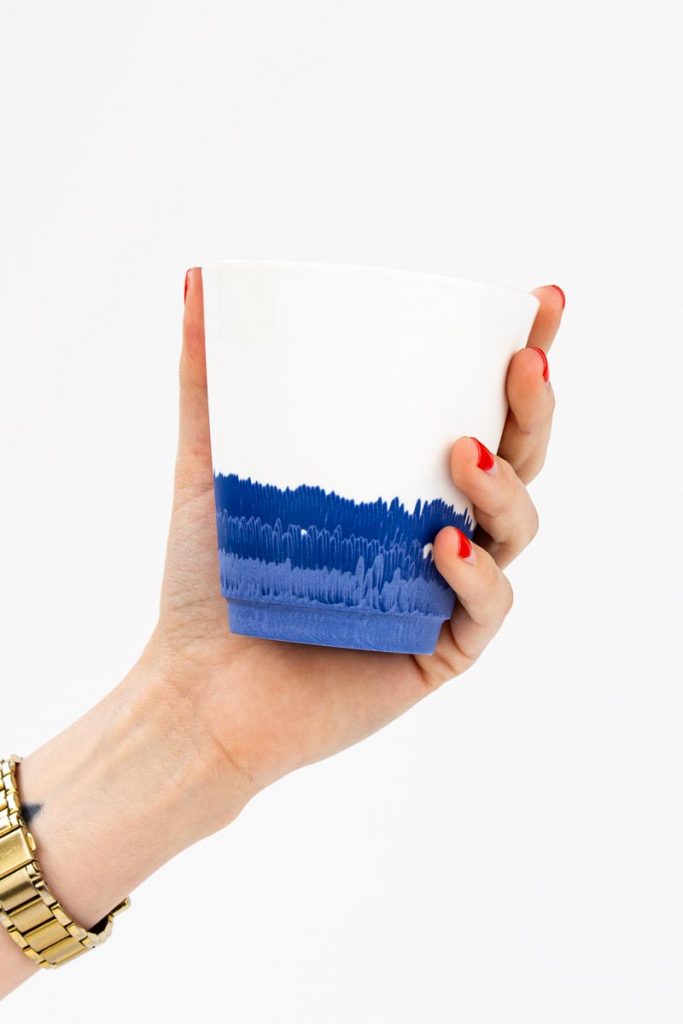
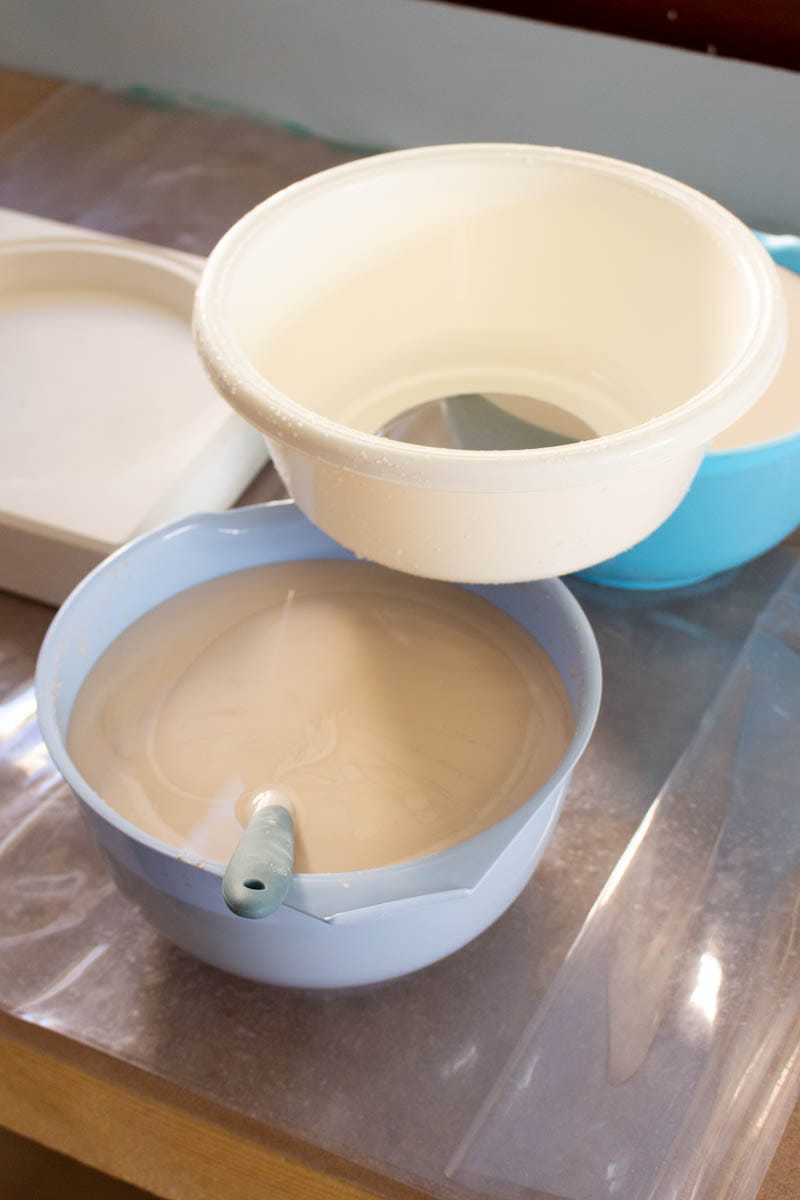
In our case, we use liquid porcelain and mix it with different oxides or pigments to create colored porcelain. This is what we drip for the Moca tableware ceramic cups patterns.

Now we can start the production and see how to create a ceramic mug:
The usual way to produce a porcelain object would be to pour the liquid clay into the plaster mould for 5 to 10 minutes, depending on the expected thickness. However, we have an extra step in our case!
We use our machine and coloured porcelain to drip into the mould first. Our mould is placed onto our machine platform, which turns and moves with a code. We start the dripping of the porcelain by opening our tap system and controlling the pattern until we feel it’s done. Then, we can remove the mould, wait a few seconds, and pour the white porcelain into our mould for 4-6 minutes.
When our alarm rings, we remove the excess porcelain from our bucket and let the mould sit upside down to dry for a few minutes. We do that to avoid any droplets or marks inside the mug.
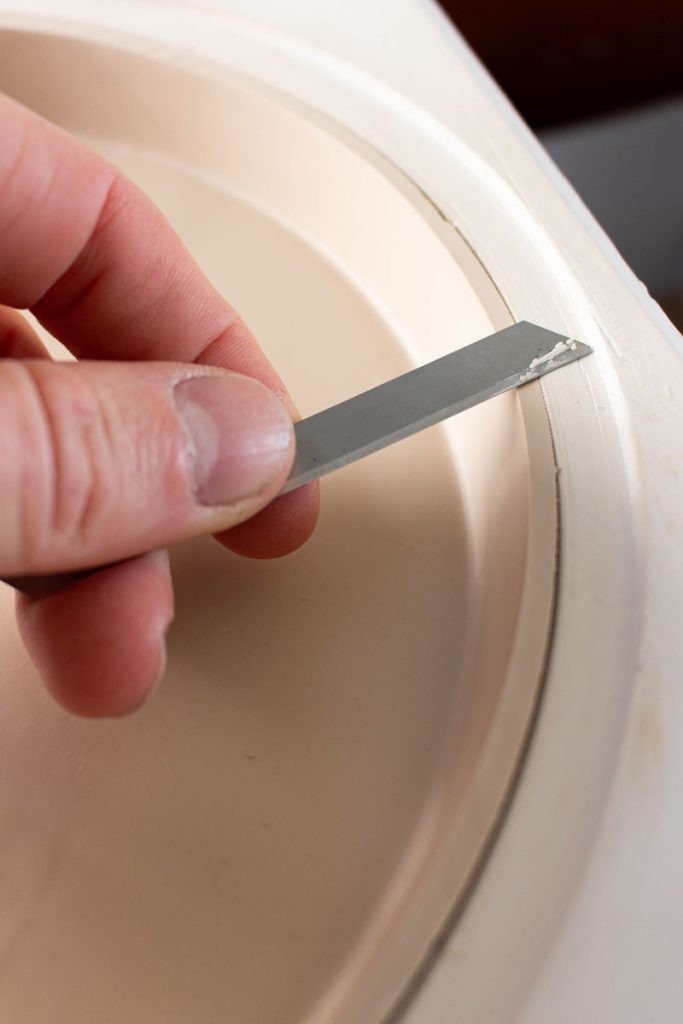
The next step is to cut the excess porcelain with a knife following the side of the mold. Then, we stamp our logo inside and wait until the porcelain cup shrinks a tiny bit due to the plaster mould absorption.

Once strong enough, we remove the cup from the mould, to store it on wooden shelves, carefully! The porcelain has a kind of memory, if we create pressure on some parts, it might deform in the ceramic kiln!
It will dry for 1-2 days in our case.
The porcelain cup should be completely dry before going into the kiln, otherwise, it might break or even “explode”.
But first, we like to clean all the angles and surface impurities to have a smooth feeling. You should always protect yourself with a mask, especially during steps when you manipulate porcelain or oxide powder, and it is flying around. It can be dangerous for your health and lungs.
We finally process the first fire in our kiln at a “low temperature” between 900 and 1050 degrees. The porcelain cup will begin to shrink, get a bit stronger, and might deform. The porcelain will also start to become a bit whiter. However, our cup is still porous at this temperature, which is what we need if we want to apply glaze.
We remove the cups from the kiln, clean them under water, dry them, and apply a food-safe transparent glaze inside and around the top. It makes it easier to clean, and it’s a better surface for the mouth. The cup should be dry to absorb the liquid glaze and let it stay on the surface.


Then, the second fire comes! This time we go way higher to achieve a beautiful white porcelain cup: in our case, we are around 1250 degrees. The porcelain cup will continue to shrink until it’s completely non-porous, and the glaze will “melt”. We can finally open our kiln, and this is where we can have many good and bad surprises: some pieces broke, deformed, or came out beautifully!
From the mould to the final cup, the porcelain shrinks around 15-20%!
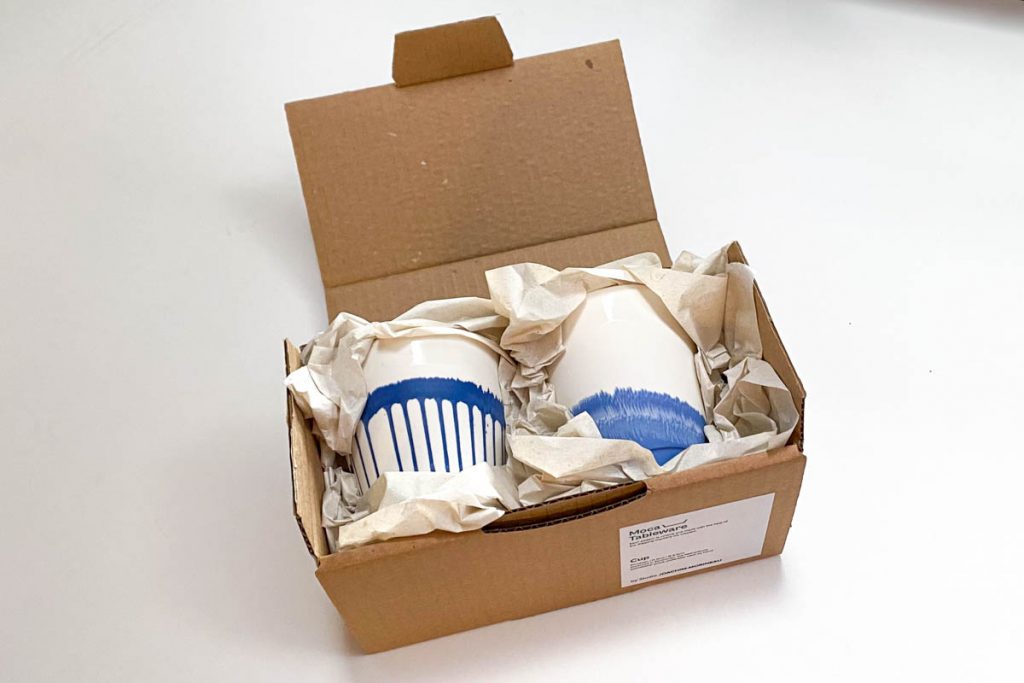
One last cleaning, a well-protecting packaging, and you can use our beautiful cup at home! We also have a blog post on how to care and clean your porcelains!
There are, of course, many tiny details that we didn’t include here that make the process perfect and reliable. But it’s different for every clay or design. However, if you have any questions or need help, send us an email or a small message on Instagram, and we will try to answer you!
And this is how to create a ceramic mug! We hope you will try this process one day in a ceramic workshop to see how fun and careful this process is.
Jordan and Carla
Moca Tableware
Packing the ceramics: How to ship ceramics? One of our biggest challenges is shipping our ceramic pieces. I mean, shipping is not the issue. The challenge is getting them delivered

Clean and care handcrafted ceramics? Our MOCA ceramics, whether bowls, plates, or cups, are all made from two materials: porcelain and a food-safe glaze. Porcelain, unlike other types of ceramics,
Experience the fusion of technology and craftsmanship with MOCA Tableware. Combining handcrafted traditions with advanced techniques, our ceramics tell a unique story. Discover the fascinating process behind our creations as technology meets tradition. Our ceramics are one-of-a-kind, redefining unique design and technology. Embark on a creative journey with MOCA Tableware.